
Why NOT write a parser? - Preparation
This is a follow up from my Why NOT write a parser? post. In this post I will take you through creating a dot net core library and unit test library to hold the parser code. Future posts will fill out the projects.
So first let’s prepare the projects using the dotnet cli. Run these commands in an empty folder:
- Create the solution file
dotnet new sln -n Parser
- Create the library project
dotnet new classlib -o Parser -n Parser
- Create the test project
dotnet new xunit -o ParserTests -n ParserTests
- Add the projects to the solution
dotnet sln Parser.sln add Parser\Parser.csproj
dotnet sln Parser.sln add ParserTests\ParserTests.csproj
- Reference the library from the test project
dotnet add ParserTests\ParserTests.csproj reference Parser\Parser.csproj
- Add TestConsole and FluentAssertions to the test project
dotnet add ParserTests\ParserTests.csproj package TestConsole
dotnet add ParserTests\ParserTests.csproj package FluentAssertions
Next, let’s decide what compare tool TestConsole is going to use when an approval style test fails.
For this we need to create a configuration file somewhere above the level of our test project. The library will walk up the file tree looking for any folder with a file called “.testconsole” containing a single line like this:
reporter=winmerge
This is my file as I run on windows and want to use WinMerge as my compare tool. The other directly supported tools are Kompare (use “reporter=kompare”) and Meld (use “reporter=meld”).
If you want to use a different file compare tool you can add your own by implementing TestConsoleLib.Testing.IApprovalsReporter like this:
    [ApprovalsReporter("winmerge")]
    public class WinMergeReporter : IApprovalsReporter
    {
        public string FileName => "WinMergeU";
        public string Arguments => "$1 $2";
    }
-
The
[ApprovalsReporter("winmerge")]attribute provides the name to be used in the .testconsole file. -
The
FileNameproperty provides the name of the executable that should be run. -
The
Argumentsproperty provides a template for the command line arguments.$1will be replaced with the file path for the new output,$2will be replaced with the file path of the old (or Approved) output.
You will also need to let TestConsole know about the assembly in which you define your reporters by calling its CompareUtil.RegisterReporters method, passing in your Assembly reference.
Finally, let’s prove that the unit test frameworks are functional. Find the UnitTest1.cs file and edit it to look like this:
using System;
using Xunit;
using TestConsoleLib.Testing;

namespace ParserTests
{
    public class UnitTest1
    {
        [Fact]
        public void Test1()
        {
            "Hi".Verify();
        }
    }
}
Next build everything and run the test. If you are not using an IDE, run this at the solution folder:
dotnet test
If everything is configured correctly, your file compare tool should open. For example:
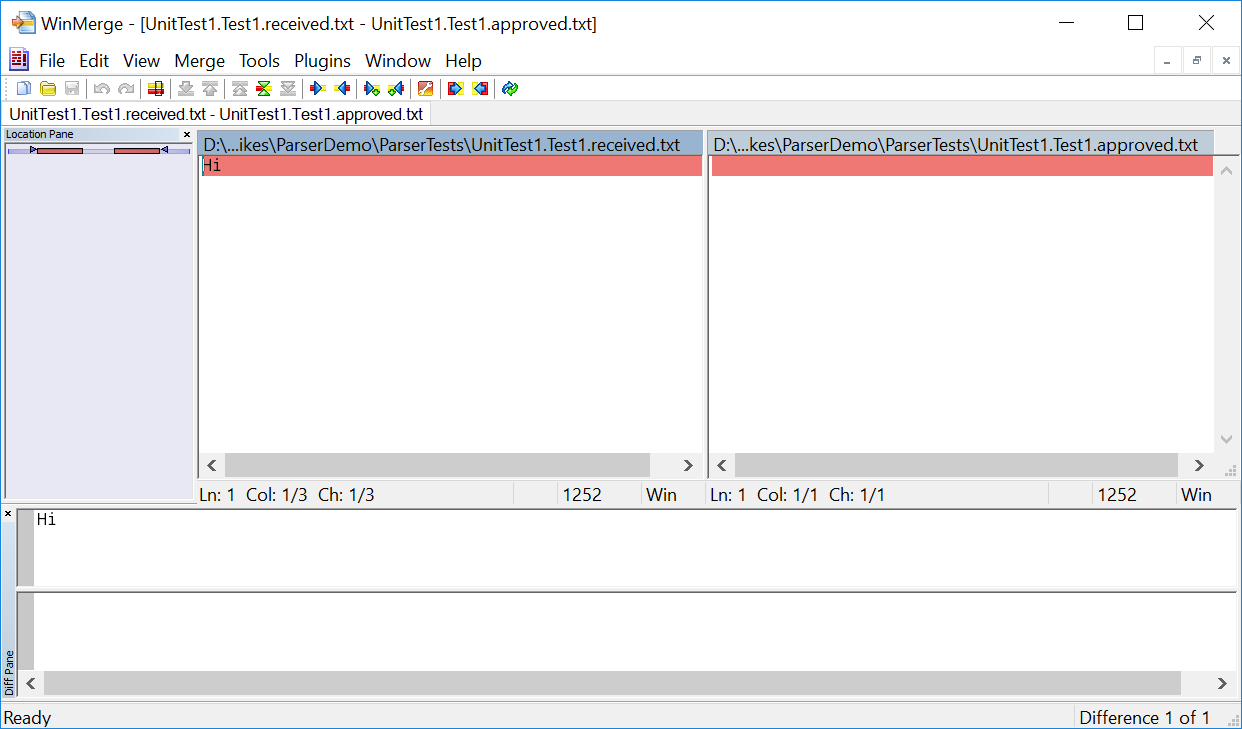
If you check your souce directory, you will see two files adjacent to the unit test:
UnitTest1.Test1.approved.txt
UnitTest1.Test1.received.txt
These are the files being displayed.
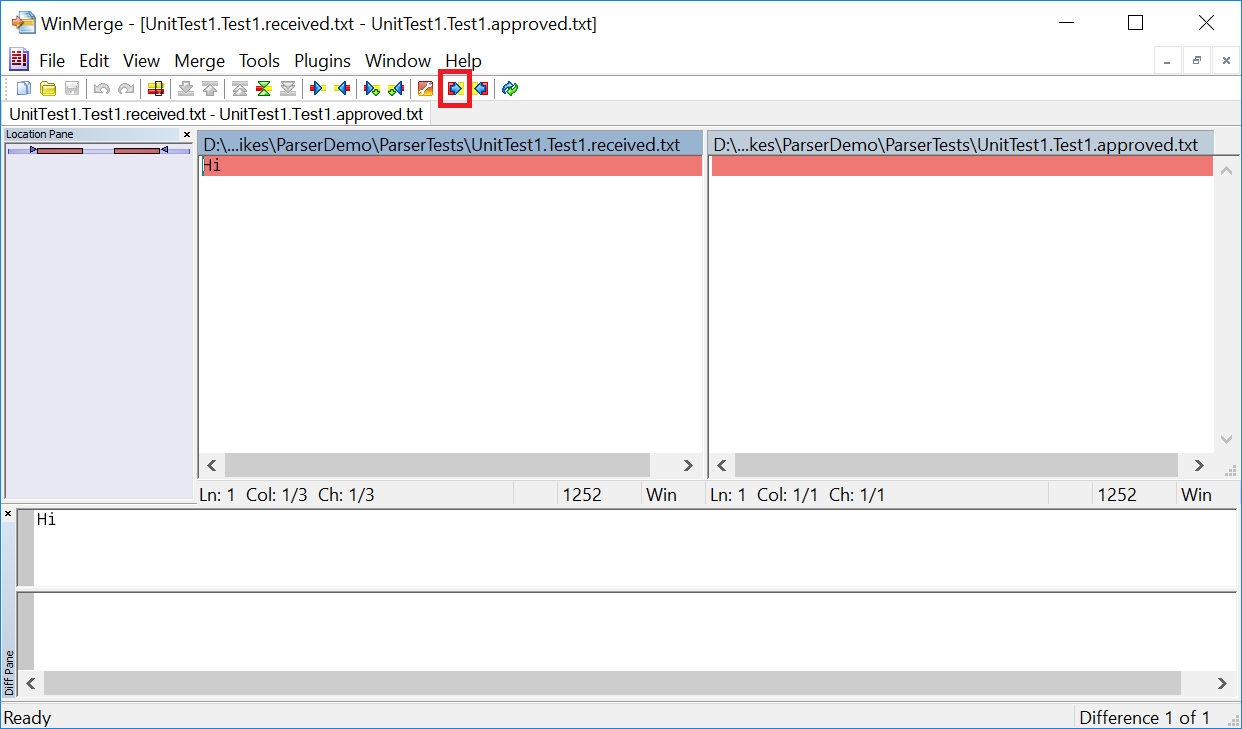
With WinMerge, to approve the results I just click the “All Right” button, highlighted here:
After saving the files are identical:
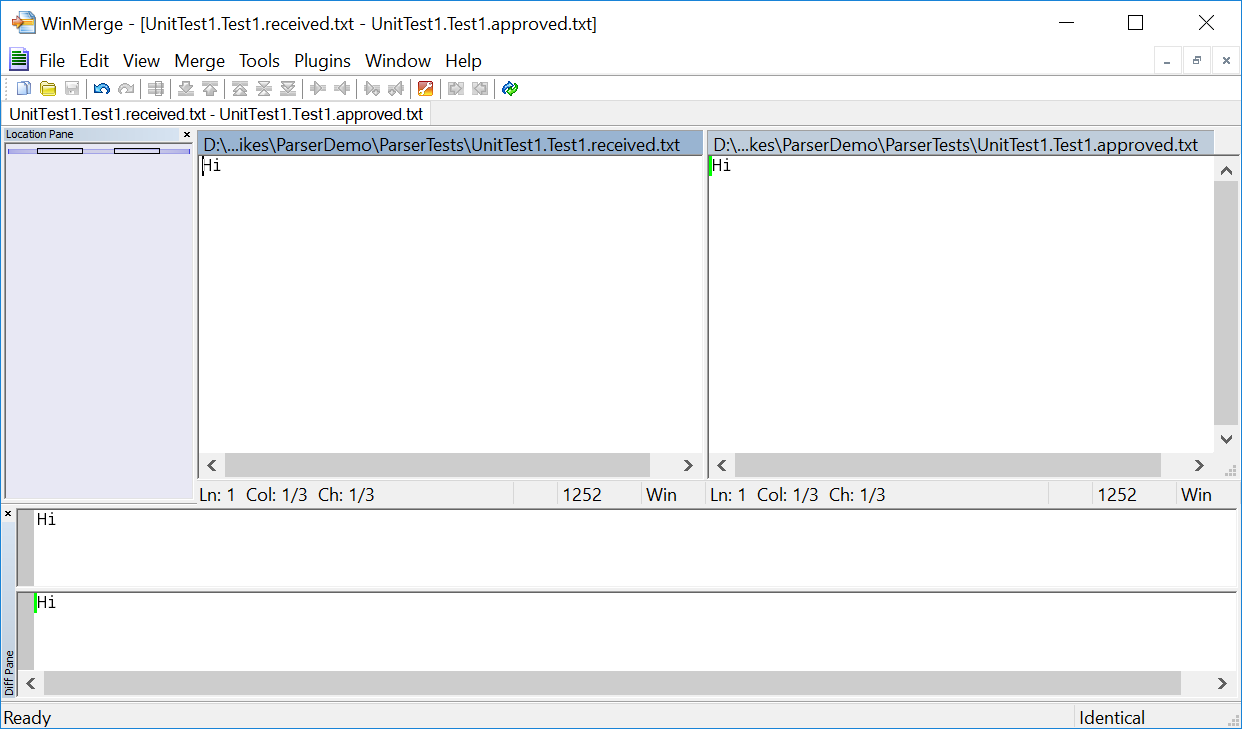
Once you make the files match, re-run the dotnet test command, and this time the test should pass, and the UnitTest1.Test1.received.txt file should be deleted.
If all has gone well, our test suite is ready for real tests and we can remove UnitTest1.cs and UnitTest1.Test1.approved.txt.
The final step we need is to allow the test library to access internal items from the Parser library, which allows us to hide our implementation details but still have a separate test project. To do this add a file called Assembly.cs to the Parser folder, with the following contents:
using System.Runtime.CompilerServices;

[assembly: InternalsVisibleTo("ParserTests")]
The next post will deal with constructing a lexical analyser.
Thanks for reading,
Jamie.